How to make a chocolate Piñata smash cake
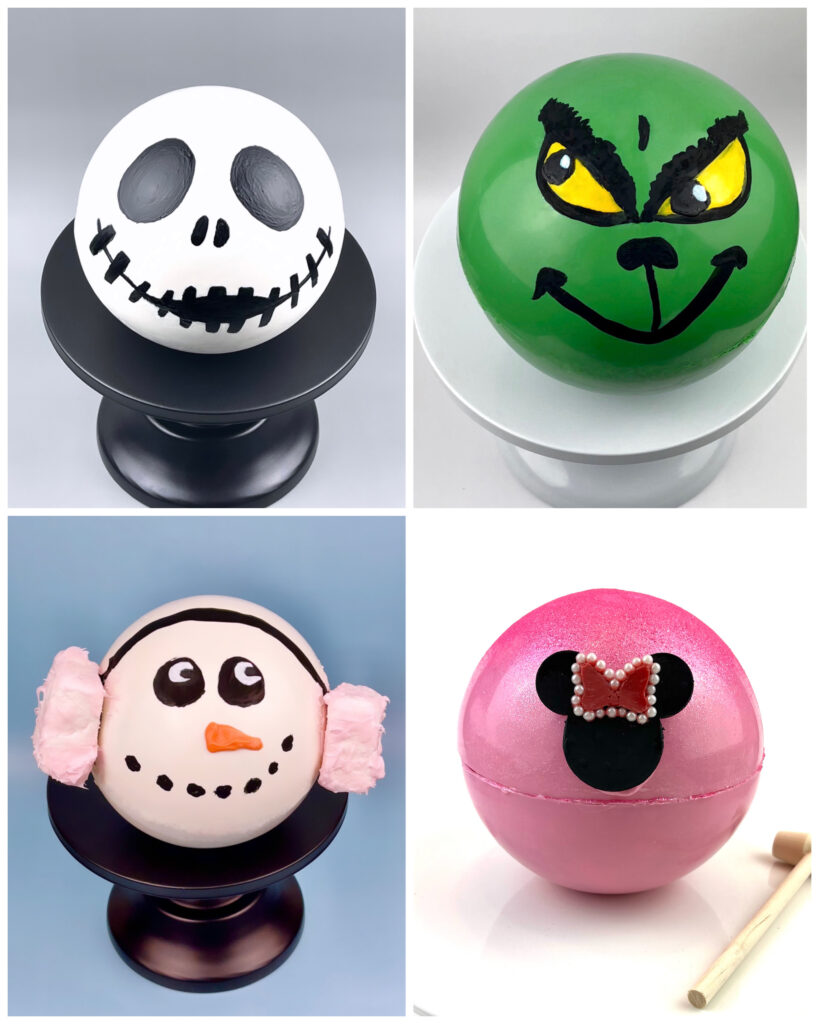
I first heard about the piñata smash cake from Indian content creators on IG… Let me just tell you, I was hooked! It’s unique, cute, versatile when it comes to decorating and best of all, it’s super easy to make!
why you’ll love to make a spherical chocolate piñata
I’ll say it again, this is super easy to make. You don’t need to be a professional cake decorator in order to make a successful chocolate masterpiece.
First thing you’ll need to get started is a hemisphere piñata smash cake silicone mold for chocolate. Silicone is the easiest mold material to use for this project.
INGREDIENTS
Main Ingredient:
- 1 to 2 cups of Chocolate wafers or candy melts.
Other ingredients you might consider using:
- edible paint & edible color markers
- edible shimmer & luster dust
- sugar pearls and sprinkles
- your favorite candy
- oil based food coloring (to color white chocolate)
- fondant
SUPPLIES
- Silicone mold (dome-shaped or hemisphere mold)
- Silicone mini basting brush (for even chocolate coating)
- Parchment paper or silicone baking mat
- Microwave-safe bowl or double boiler (for melting chocolate)
- Small spoon or ladle
- Refrigerator or freezer (for setting the chocolate)
Materials to consider using depending on your design idea:
- paint brushes for edible paints
- plastic palette
- piping bags & tips
- cake toppers
- ribbon
- silicone basting brush
- chocolate molds with small shapes and figures
- chocolate number & letter molds
- fondant molds & tools
- edible or non-edible printed images
- stickers
HOW TO DECORATE
EXAMPLES:
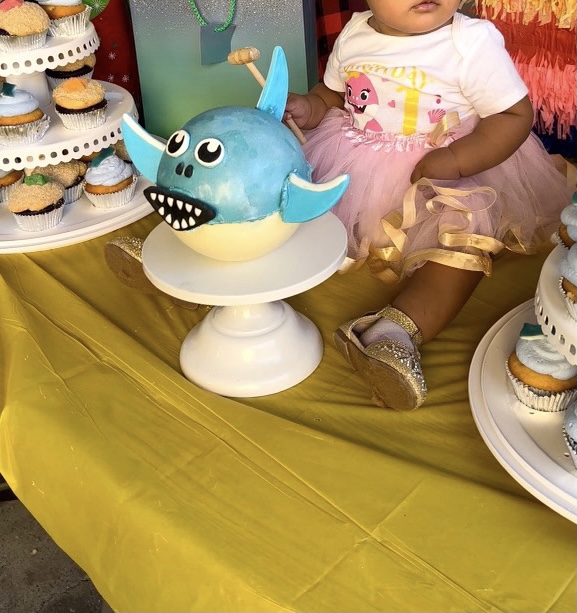
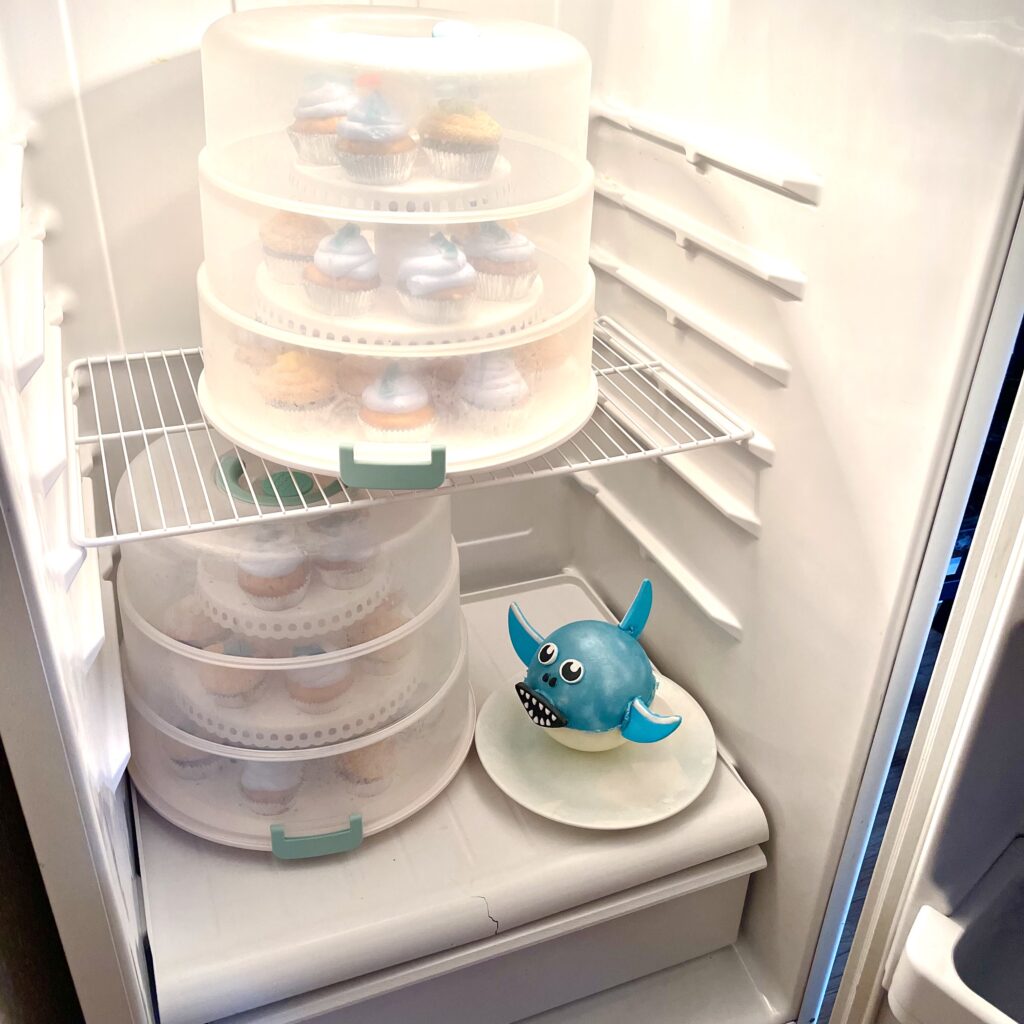
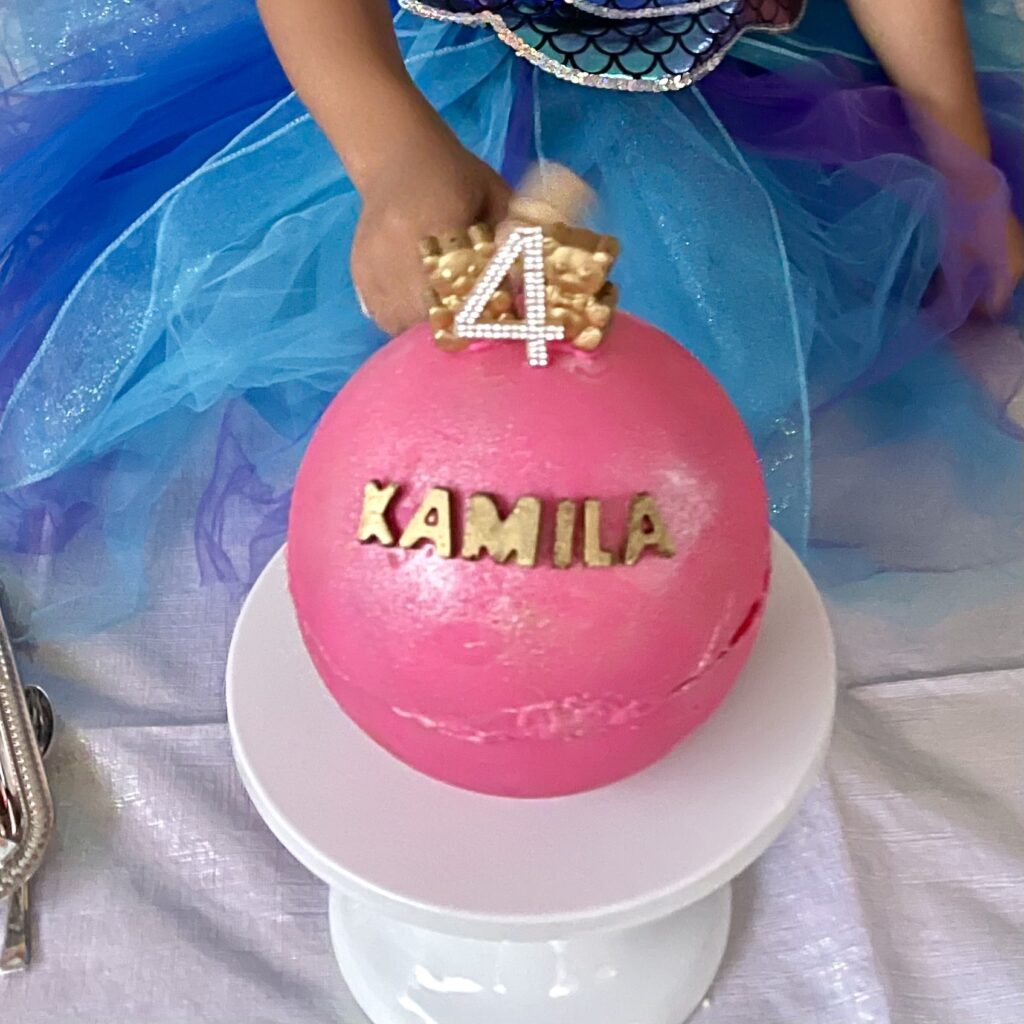

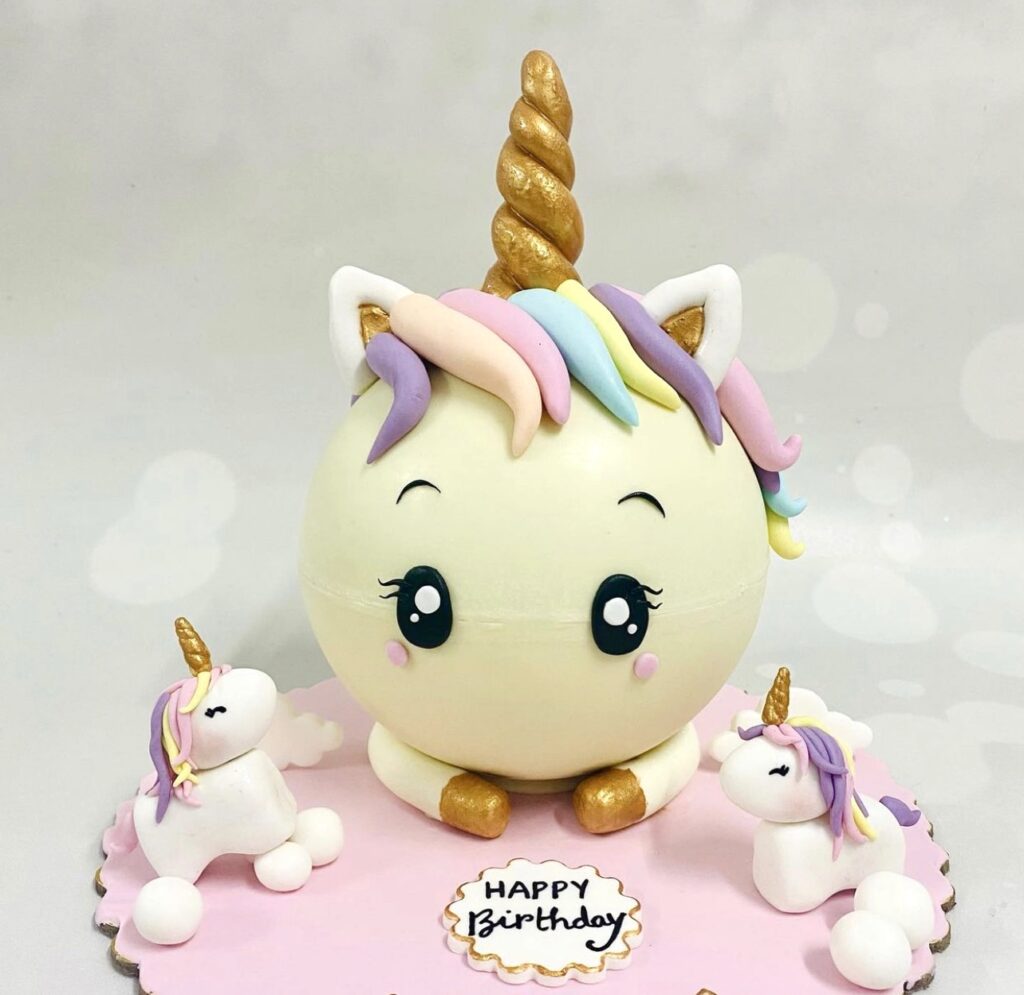
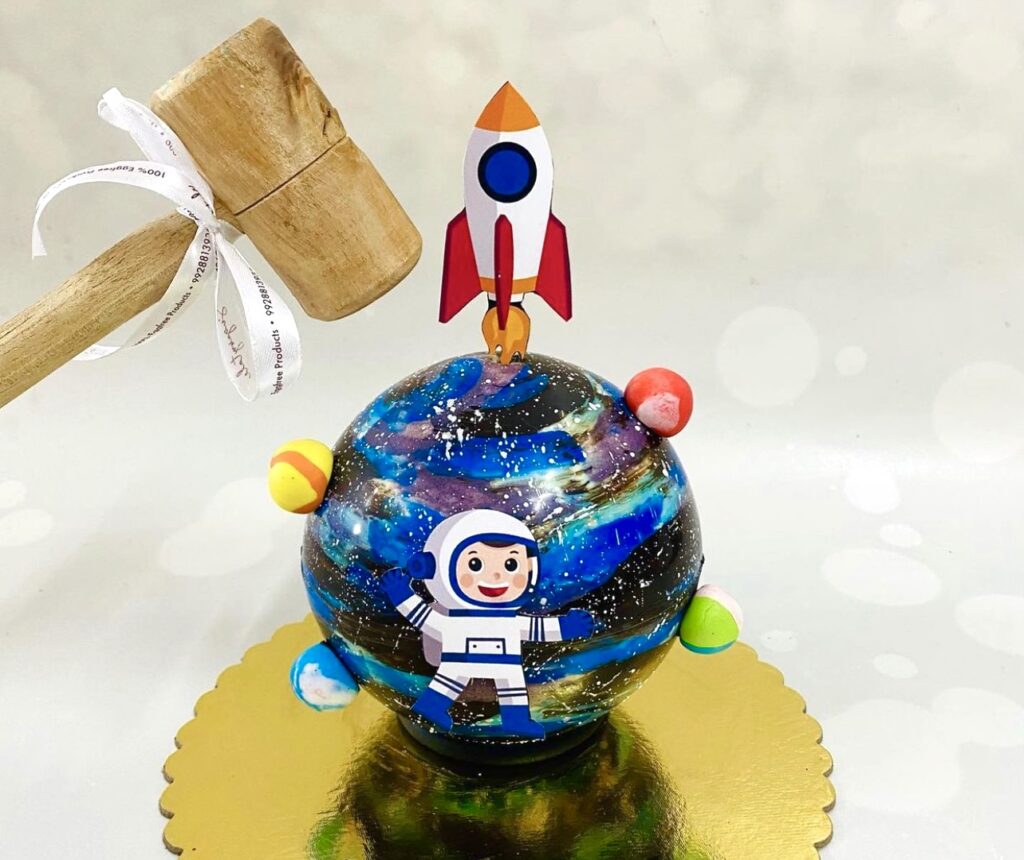
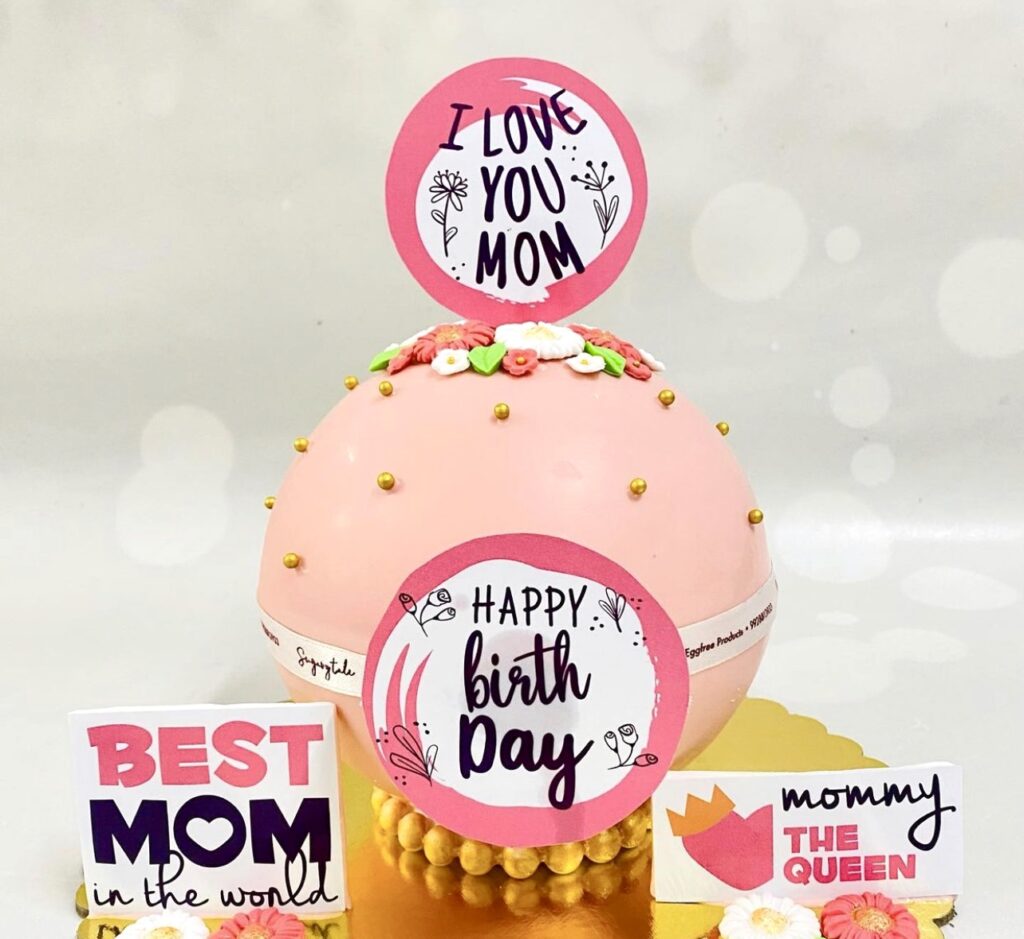
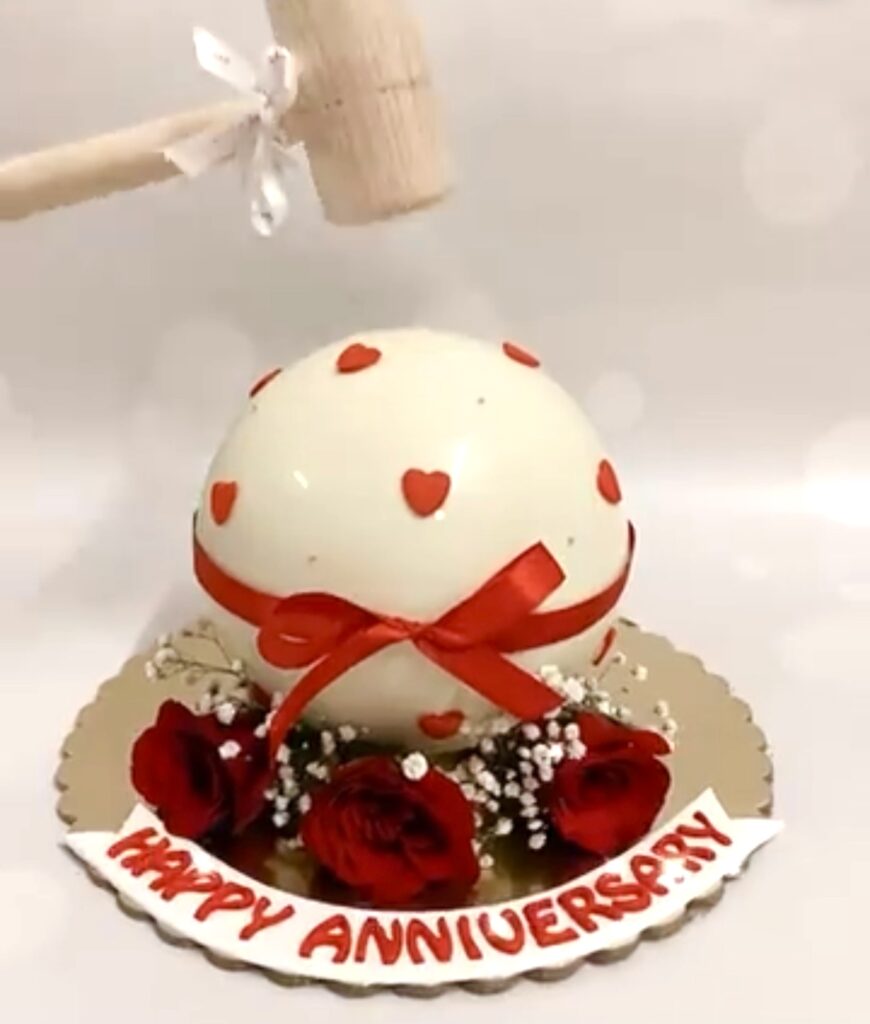
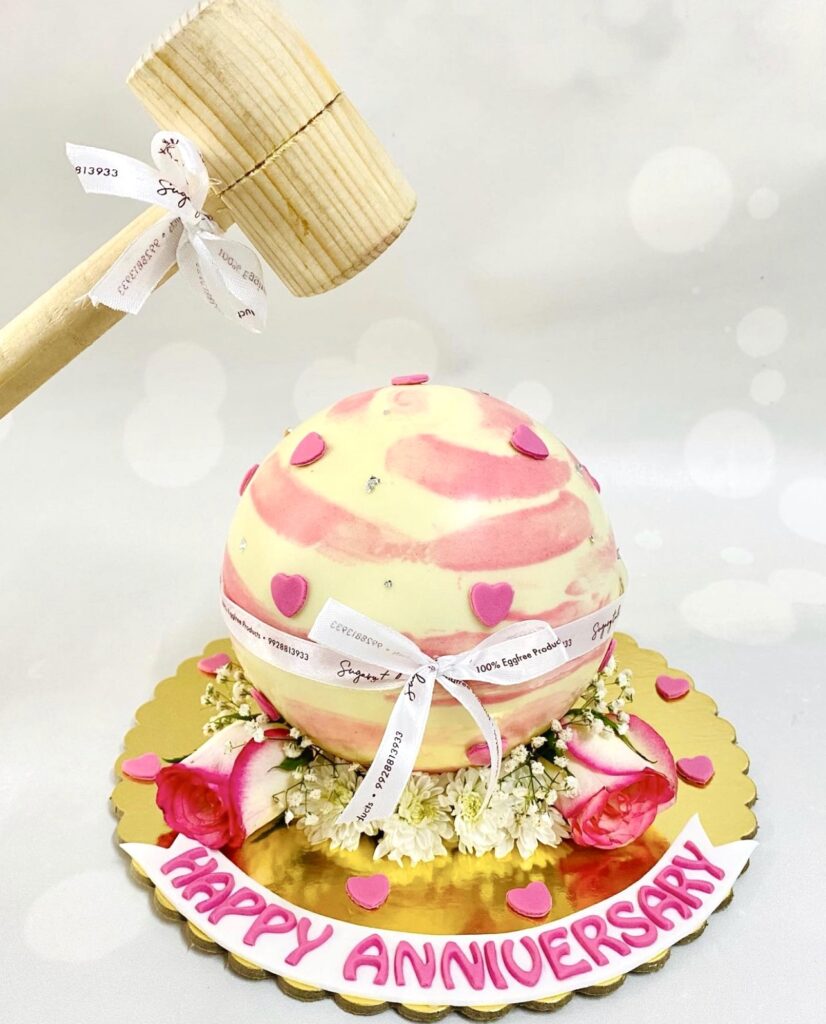
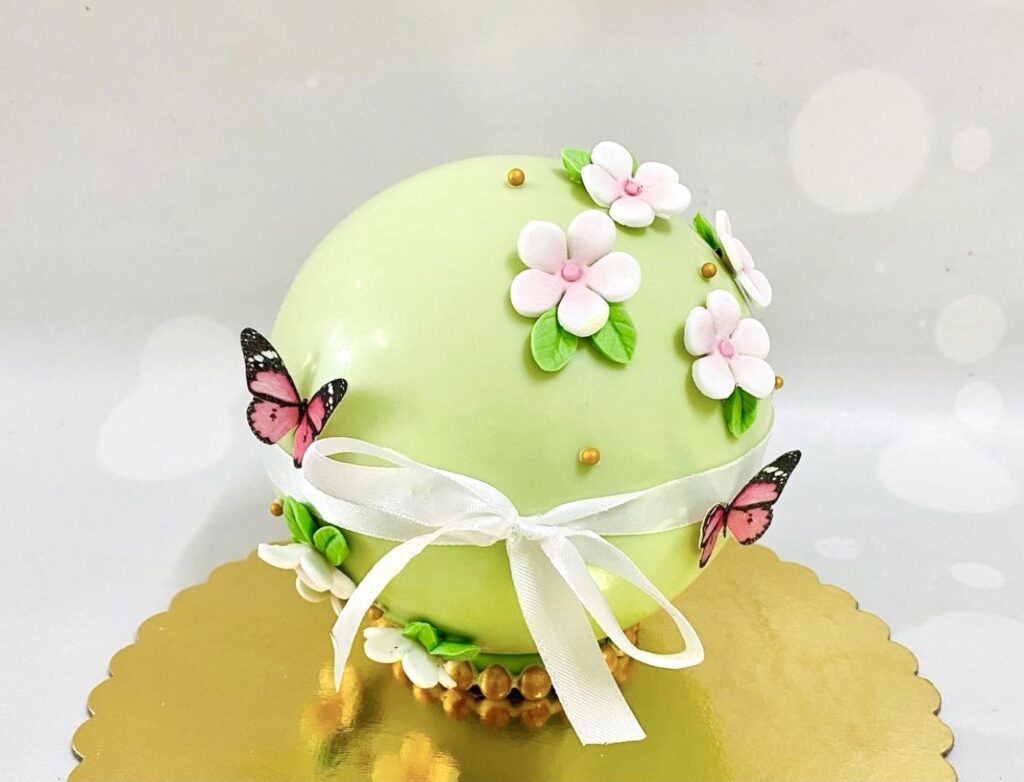
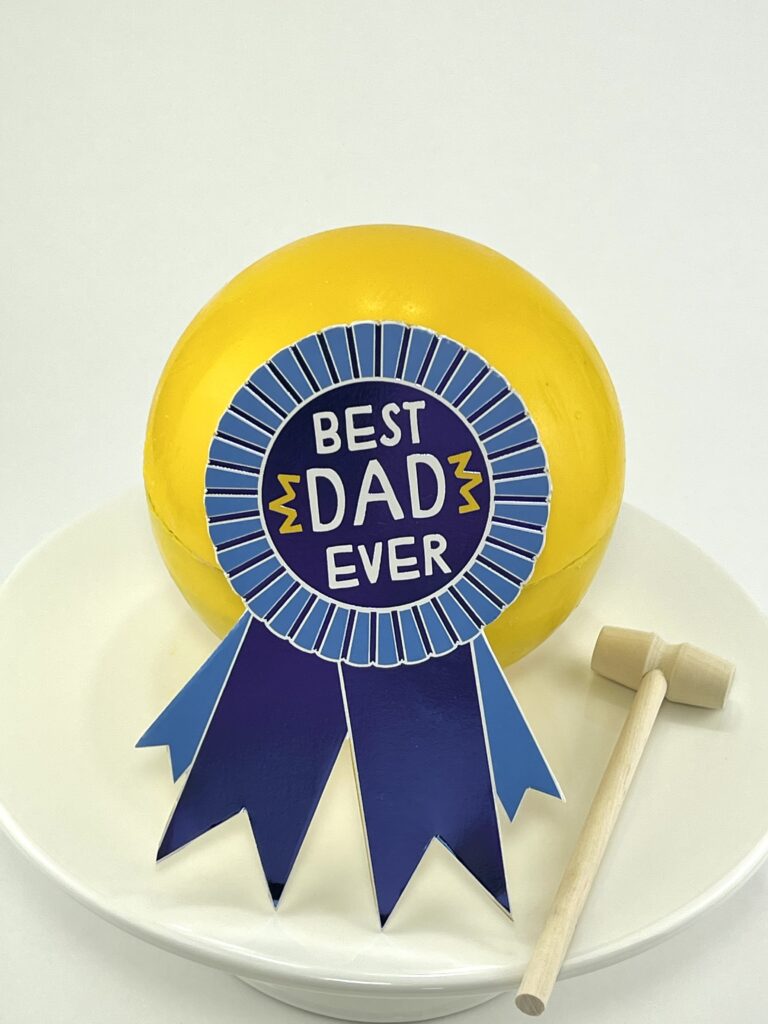
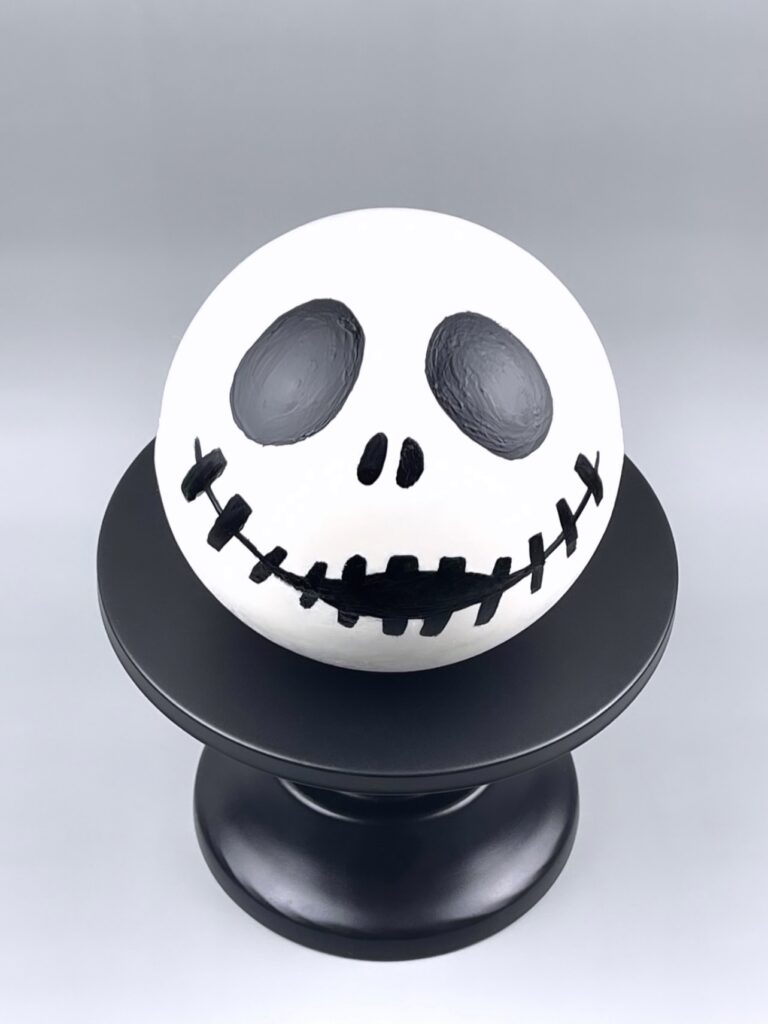
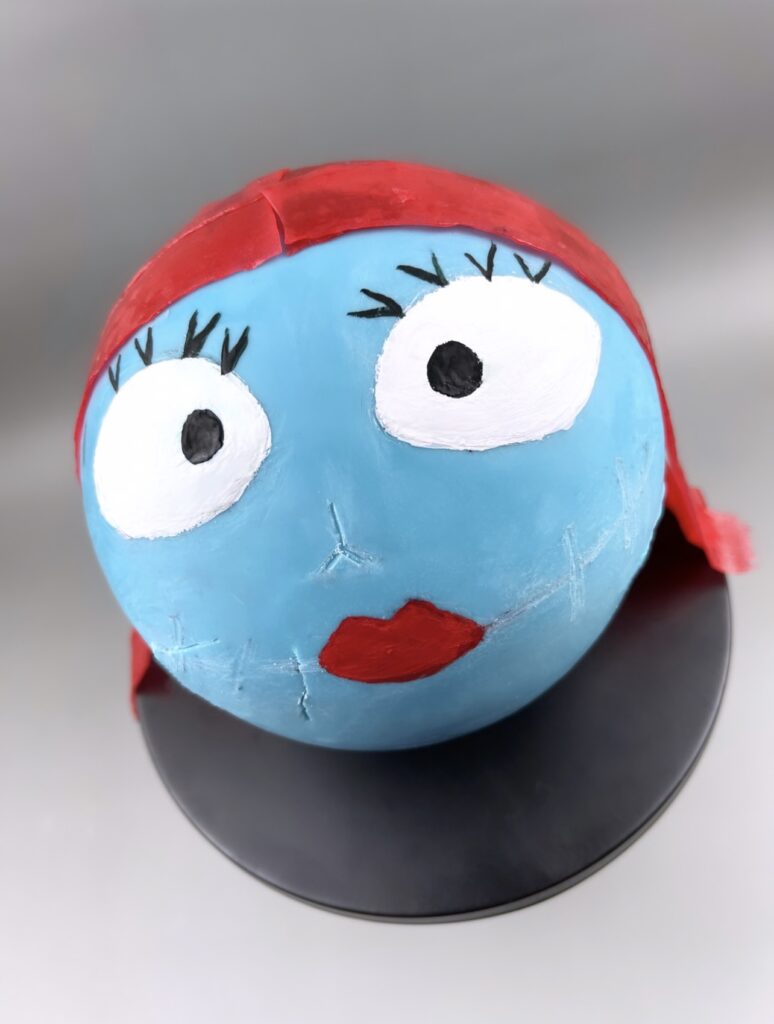
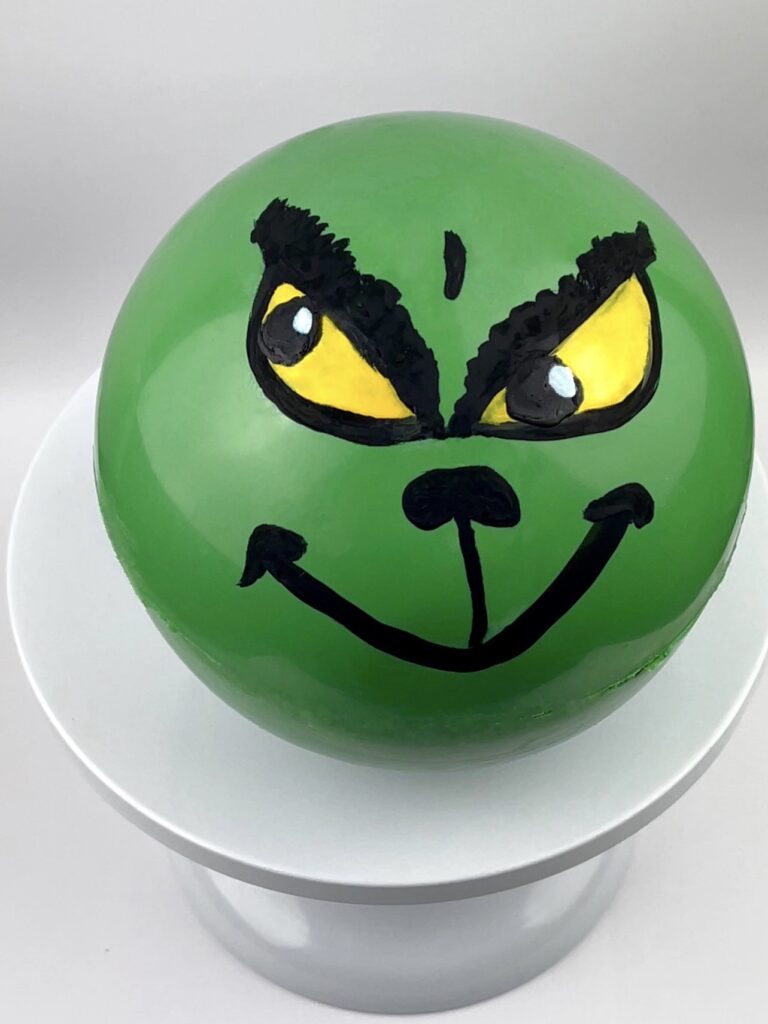
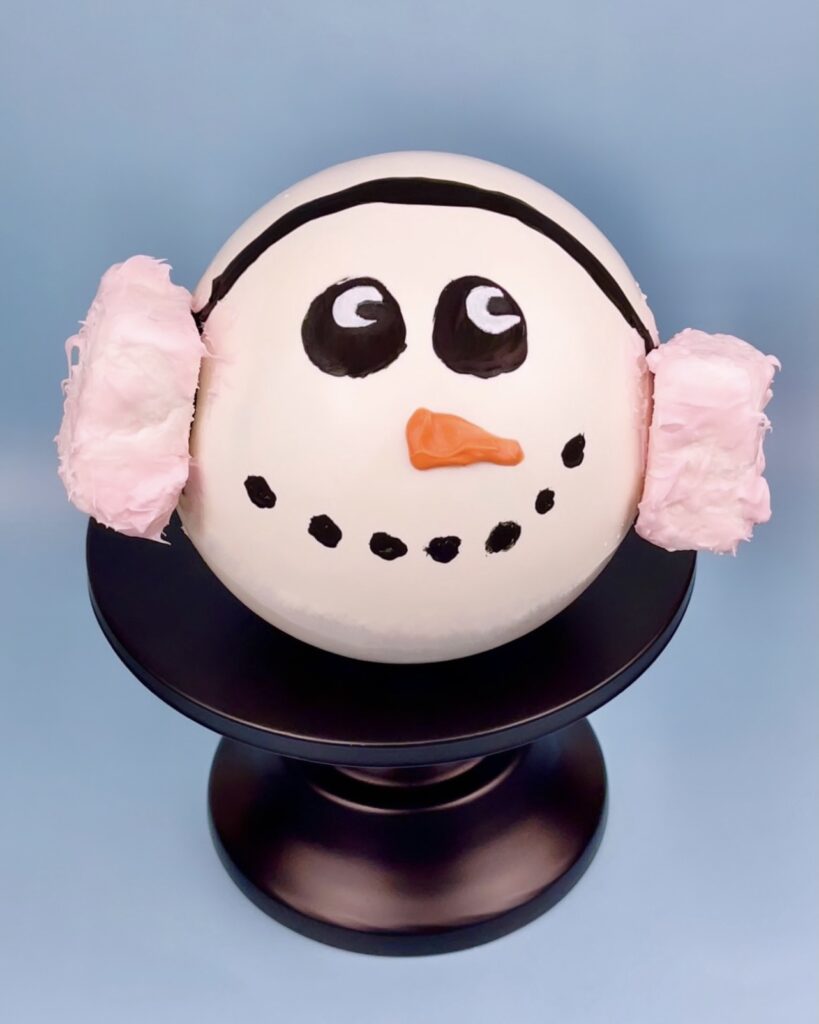
STEP BY STEP INSTRUCTIONS
(Video Below)
1. Prepare the Silicone Mold:
Make sure your silicone mold is clean and dry before starting.
2. Melt the Chocolate:
Chop the chocolate into small, uniform pieces for easier melting.
– Microwave Method: Place the chopped chocolate in a microwave-safe bowl. Heat in 20-30 second intervals, stirring in between, until completely melted.
– Double Boiler Method: Place the chopped chocolate in a heatproof bowl over a pot of simmering water. Stir constantly until melted.
– Allow the melted chocolate to cool slightly but not harden.
3. Coat the Silicone Mold with Chocolate:
– Using a spoon or small ladle, pour the melted chocolate into the silicone mold. Alternatively, you can use a small silicone basting brush to “paint” the chocolate inside the mold for a thinner, more even coating.
– Ensure the mold is well-coated, especially the edges, as this will form the walls of the piñata.
– For a thicker shell, allow the chocolate to set briefly in the fridge or freezer for 5-10 minutes, then repeat the coating process. Aim for at least 2-3 layers of chocolate.
4. Freeze to Set the Chocolate:
Once you’ve have the desired thickness, place the mold in the freezer for about 20-30 minutes, or until the chocolate is completely firm and set.
5. Remove the Chocolate from the Mold:
Carefully peel away the silicone mold to release the chocolate shell. If the chocolate is fragile or cracks, you can gently warm the outside of the mold with your hands to help loosen the chocolate.
6. Prepare the Piñata Filling:
– While the chocolate is setting, gather small candies, sprinkles, confetti, or other edible items to fill the piñata. Ensure the pieces are small enough to fit inside the chocolate shell but large enough not to fall out.
7. Assemble the Piñata:
If you made a two-part mold (top and bottom), place a layer of filling in the bottom half of the shell.
– Carefully place the top half of the chocolate shell on top of the filled bottom half. Press gently to seal the two halves together.
– If needed, you can use a small amount of melted chocolate to “glue” the two halves together at the seam.
8. Decorate the Piñata:
– Optionally, use more melted chocolate to drizzle over the outside of the piñata or decorate with colorful sprinkles, edible glitter, or other fun touches.
– You can also use fondant, edible sparkles or edible paint to make creative designs.
9. Allow the Chocolate to Set:
– Let the assembled piñata cake sit in the refrigerator for 10-15 minutes to ensure the chocolate hardens and seals completely. Don’t freeze or else the chocolate will start to sweat once you take it out.
10. Serve and Smash:
– To serve, place the piñata on a plate or cake stand. Use a small hammer or other tool to smash the piñata open, revealing treats inside.
